Follow these steps to update or change the printer settings in your POS system:
1.Access Peripheral Settings
Navigate to the main menu by clicking the Hamburger menu icon in the top-left corner.
Scroll down and select Peripheral Settings under the Other section.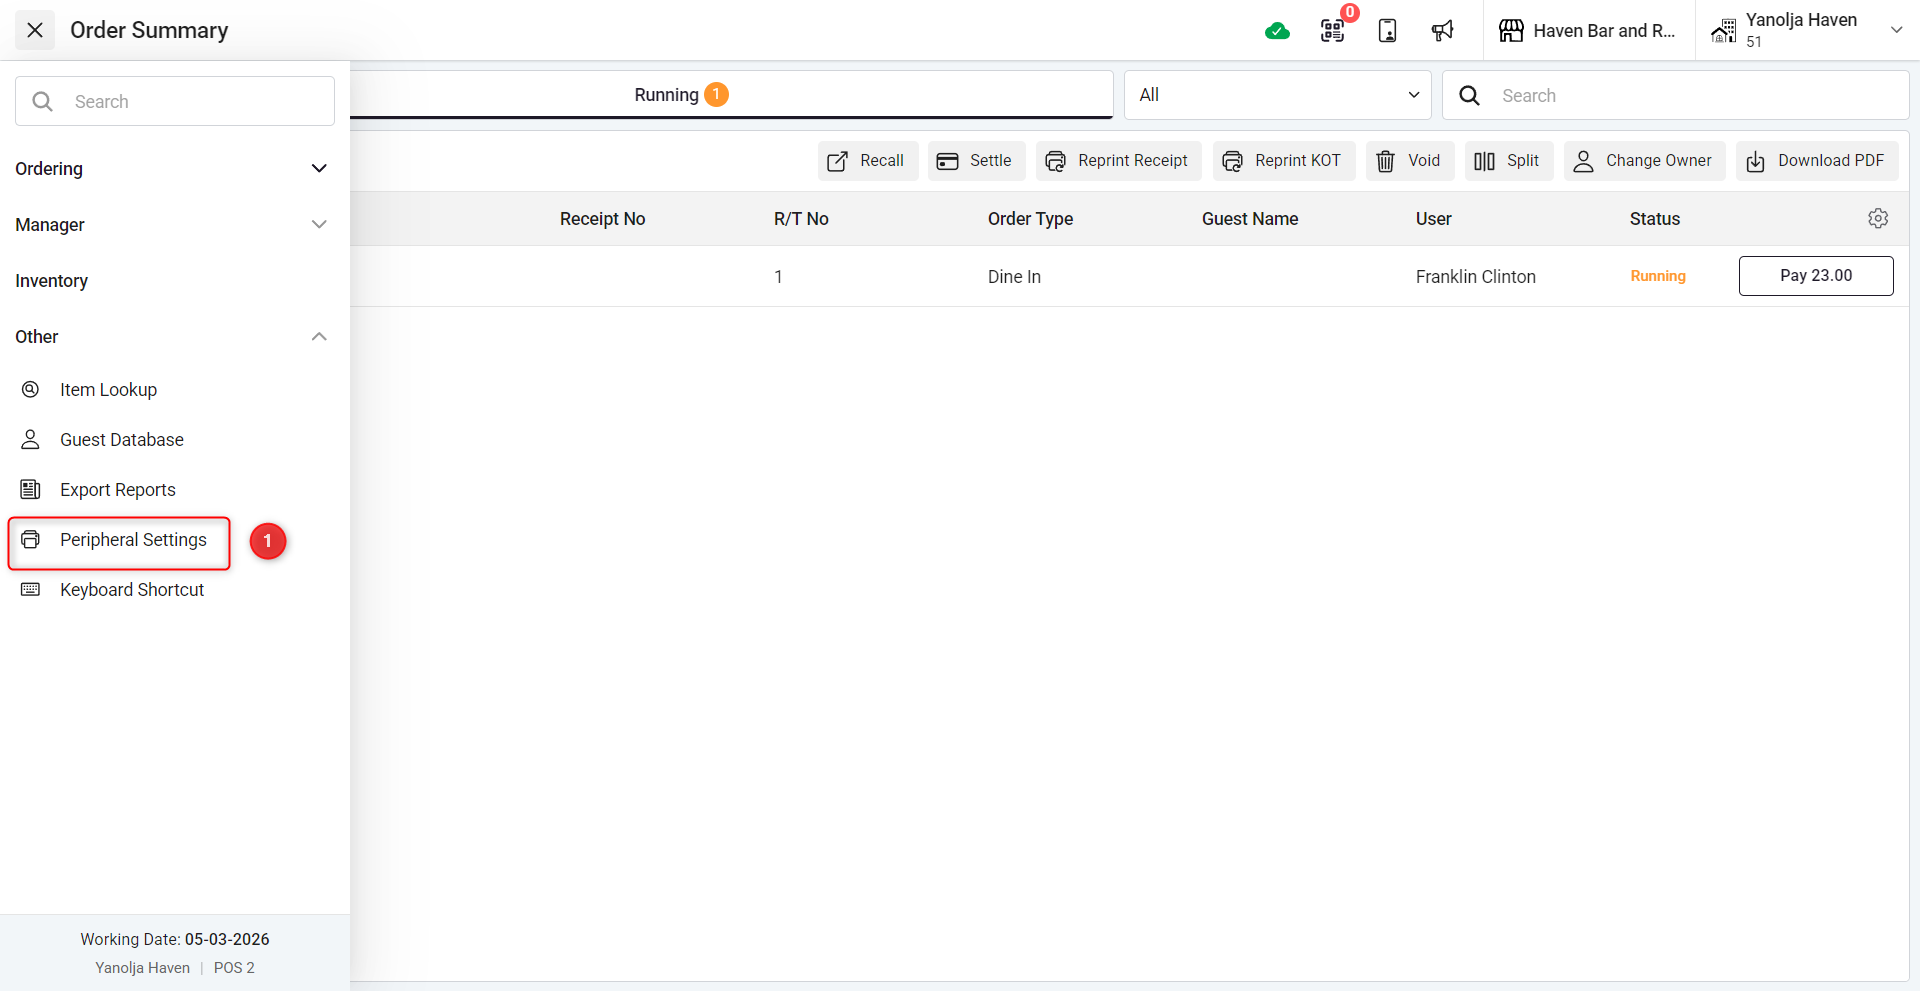
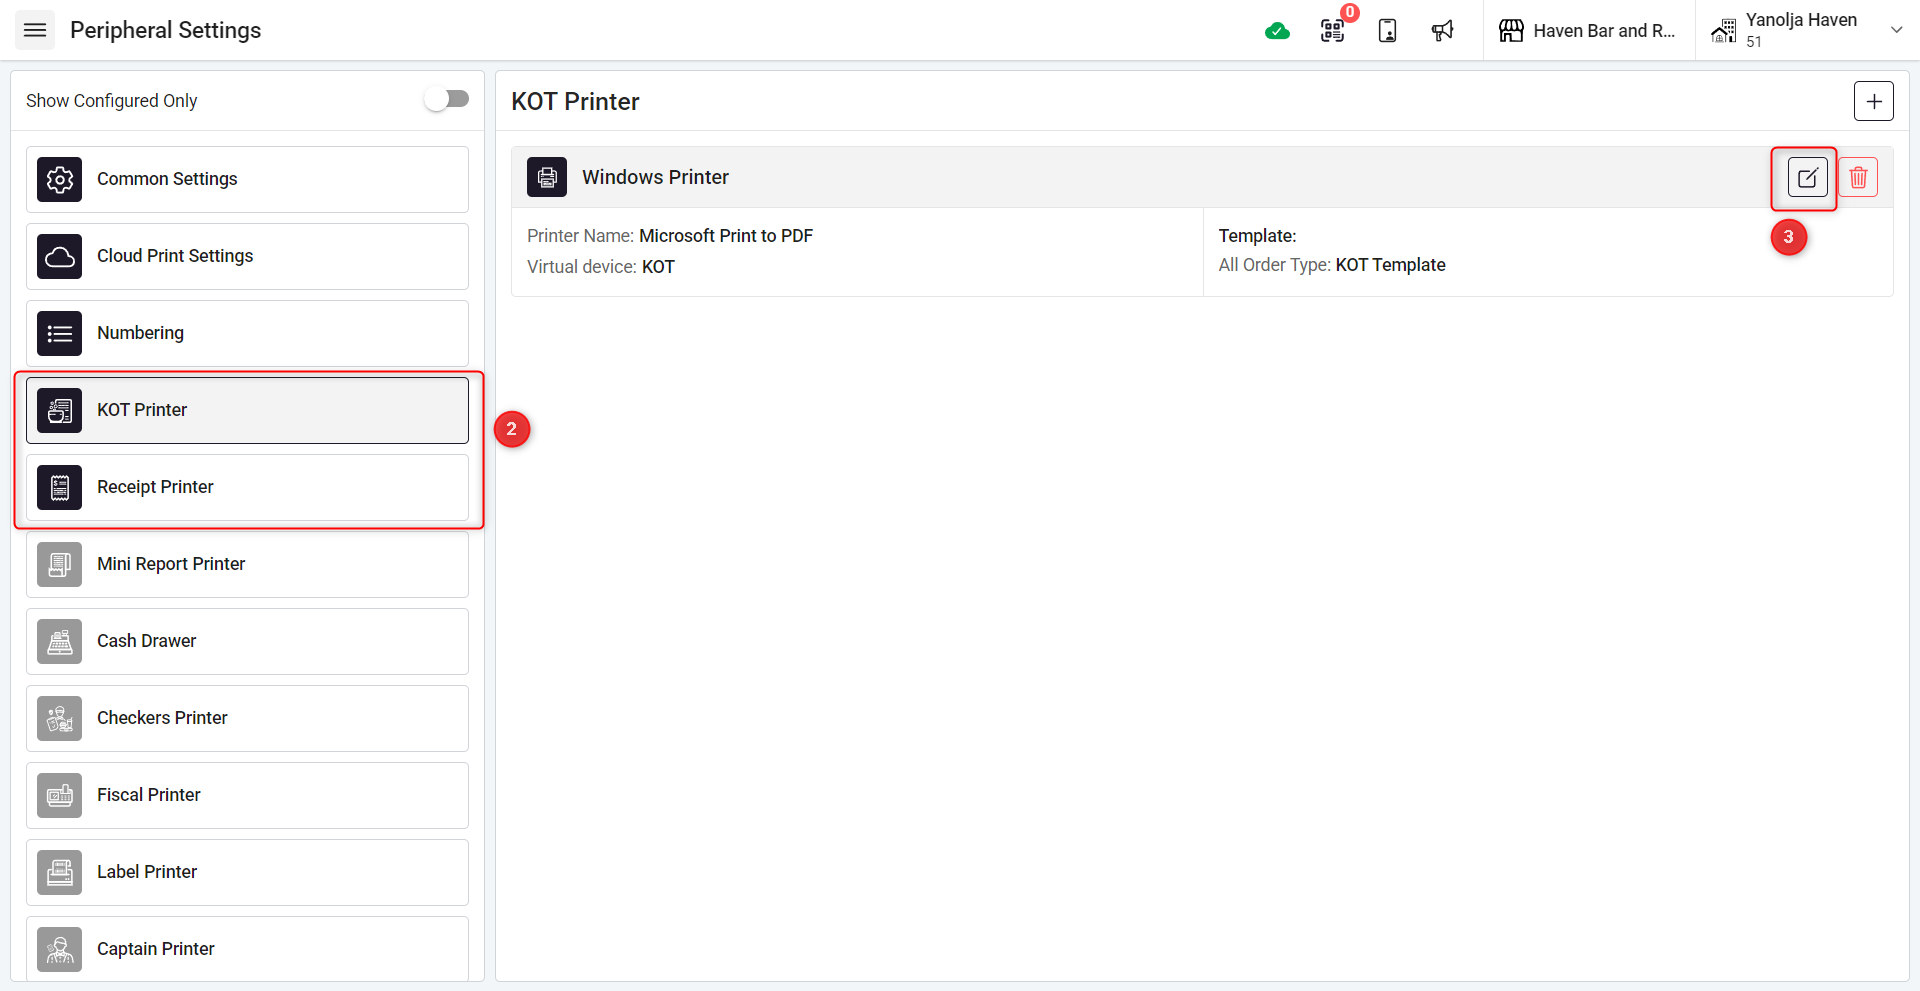
2. Choose the Printer Type in the Peripheral Settings menu, click on the desired printer type:
Receipt Printer for receipt-related configurations.
KOT Printer for kitchen order ticket (KOT) or bar order ticket (BOT) configurations.
3. Edit Existing Printer Settings
Click the pencil icon next to the printer you wish to modify.
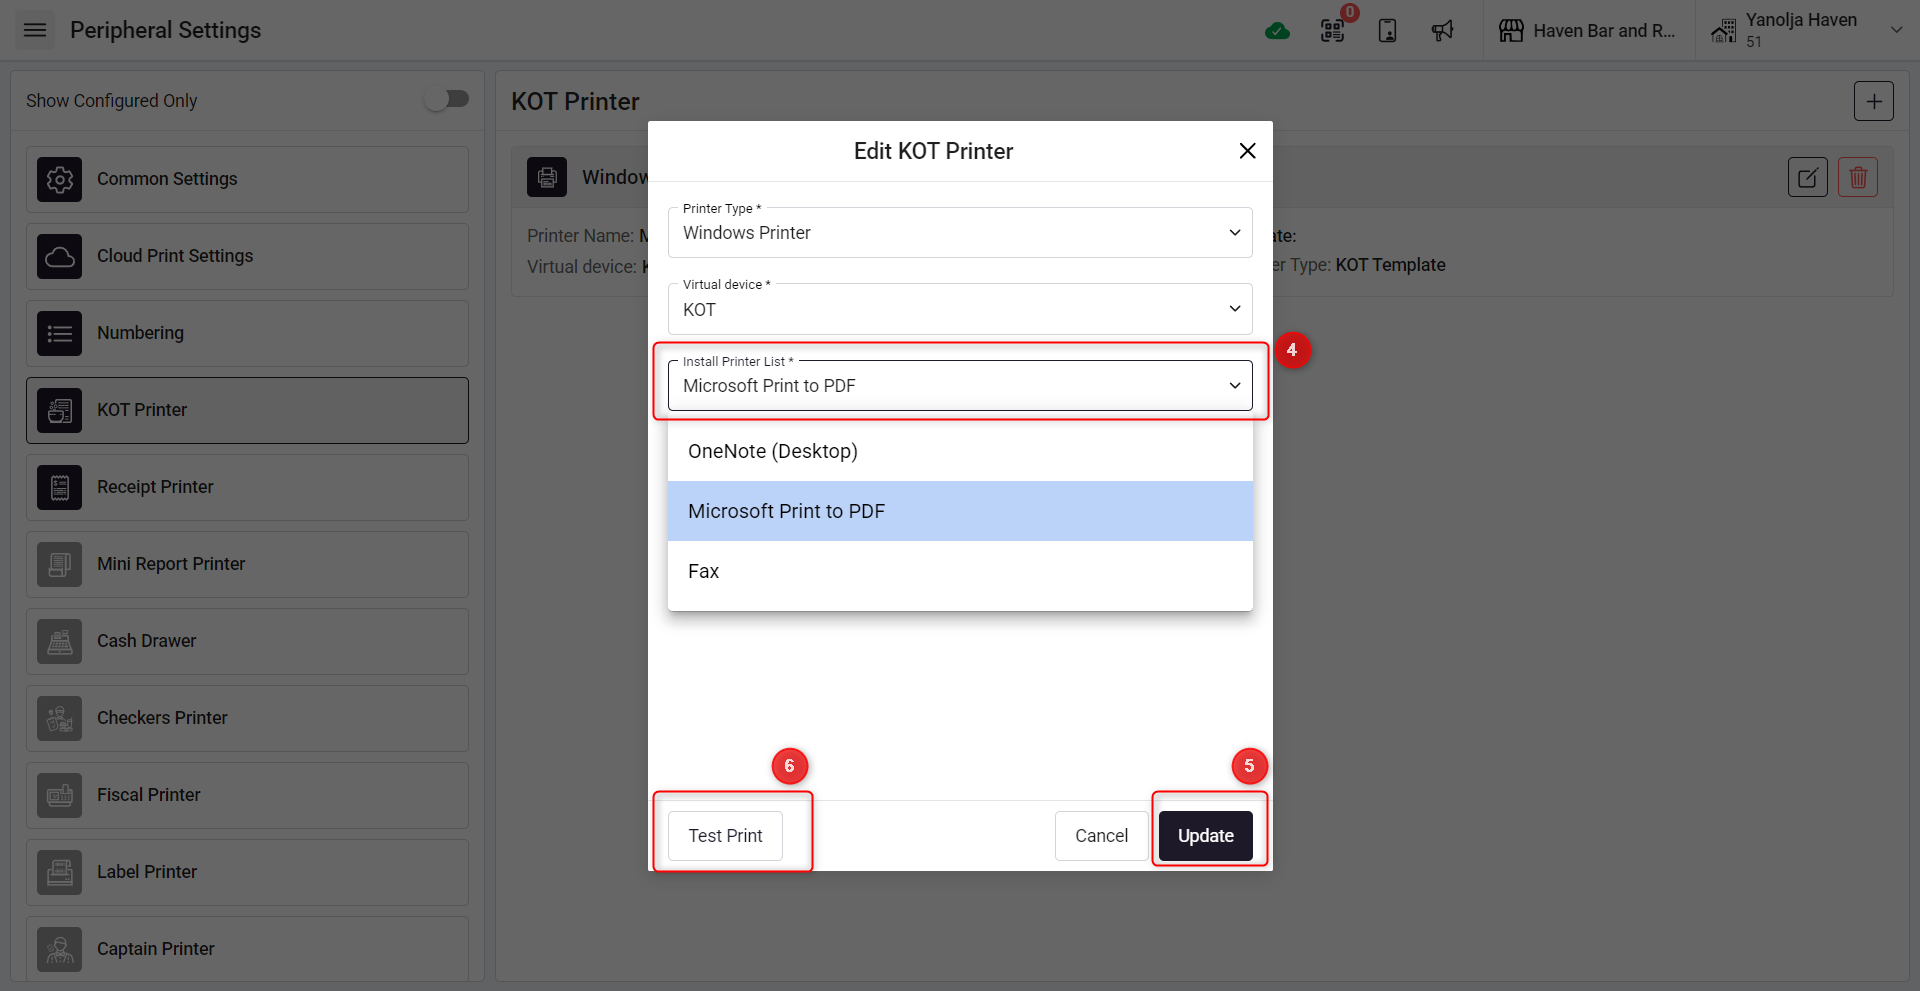
4.Select a New Printer
From the list of available printers, choose the one you want to set as the default.
5 Save Changes
After selecting the printer, click Save to finalize the configuration.
6 Test the Printer (Optional)
Use the Test Print button to ensure the printer is set up correctly.
Tip: Ensure the selected printer is installed and properly connected to your system before configuring it in the software.
Was this article helpful?
That’s Great!
Thank you for your feedback
Sorry! We couldn't be helpful
Thank you for your feedback
Feedback sent
We appreciate your effort and will try to fix the article